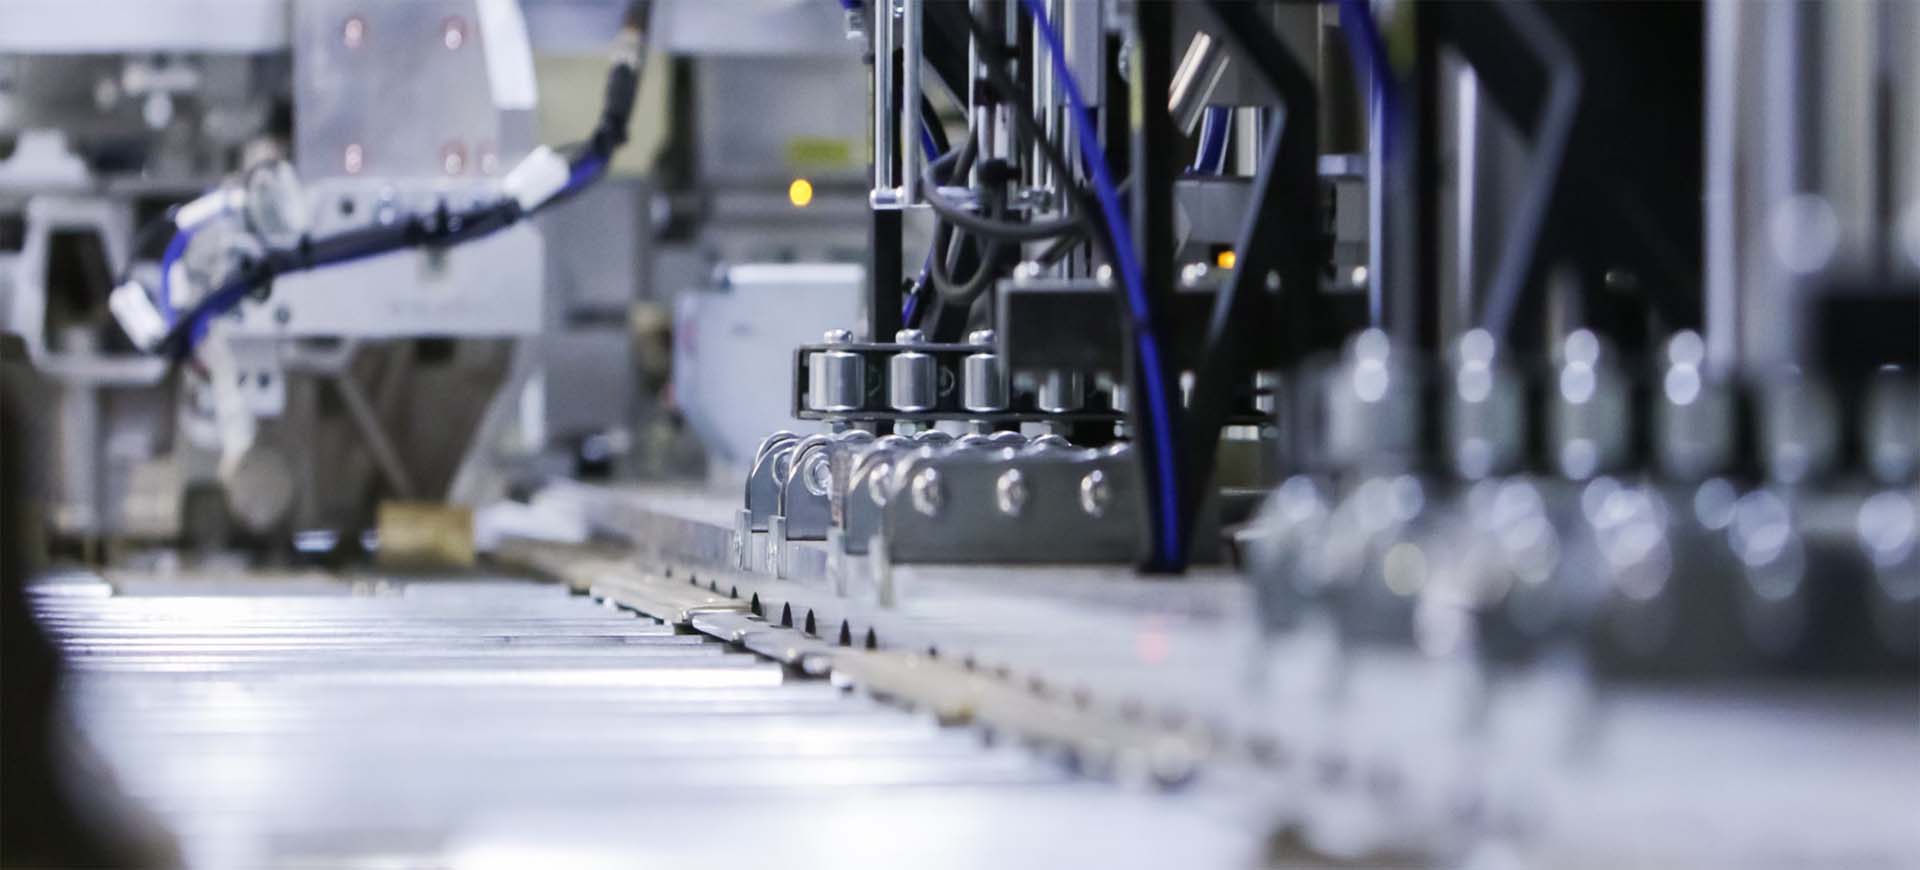
Introducing Semiautomatic Water Jacket Inspection
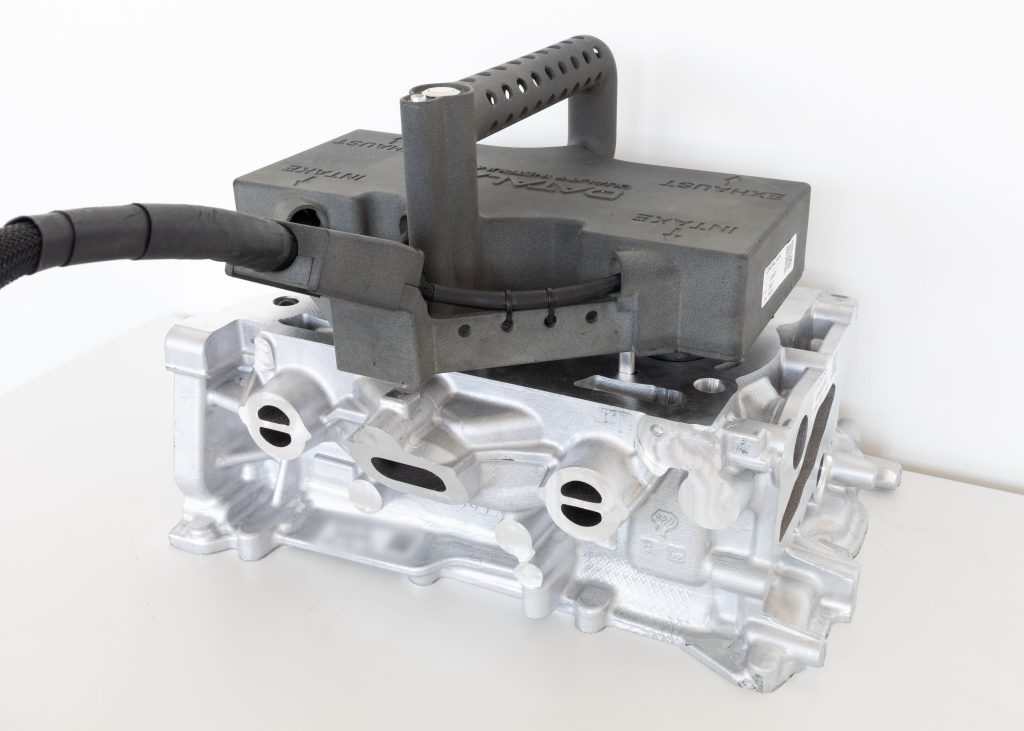
MultiBoreScope is system designed for chanel inspection of cylinder heads and engine blocks. This amazing hand held probe is based on our unique NanoCamera or LightThru technology. With several advantages, MultiBoreScope is a direct replacement of industrial borescope/fibrescope inspection done by skilled operators. This tool that decreases the operator mistakes to minimum by automated data acquisition and evaluation, reduces the cycle time by 70% compared to regular manual inspection.
Reduce the investment into automated inspection and start inspecting your parts in few weeks.
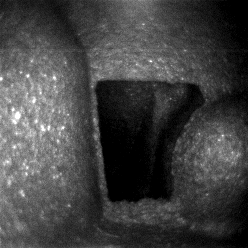
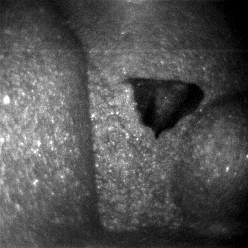
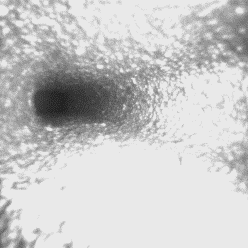
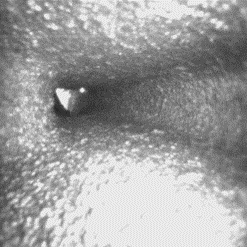
Detection Capabilities
- Full blockages
- Partial blockages (>30%)
- Machining chips
- Sand
How does it work?
A set of hardsteel probes, custom designed for each product, mounted on the MultiBorescope unit, is inserted into the casting by operator manually. Each probe includes NanoCameras and/or LightThru transmitters/receivers, to fulfil the measurement scope.
Measurement is triggered by operator using a button directly on the probe. Control LED signalizes the measurement cycle. The probe is connected to the control and visualization computer using one or more control cables using PoE interface.
By measuring the signal between selected transmitter-receiver pairs and/or image processing from NanoCameras, the system evaluates whether the passability of that part of the casting meets expected quality criteria, or if the part is damaged. The results are displayed on the computer screen with precise localization of the defect.
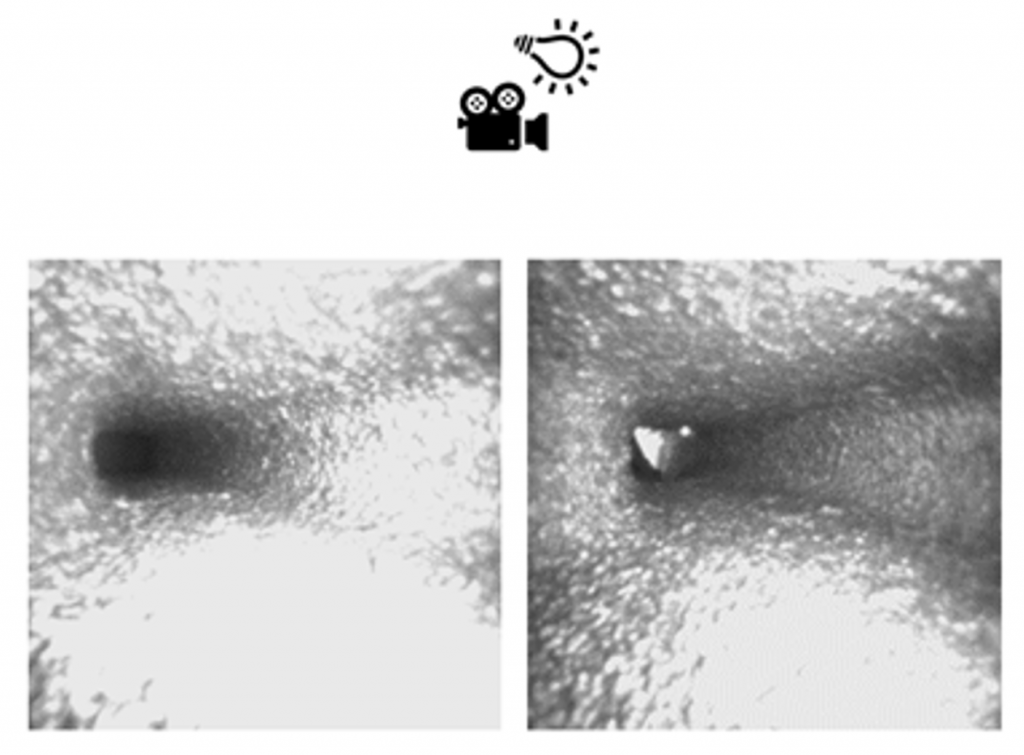
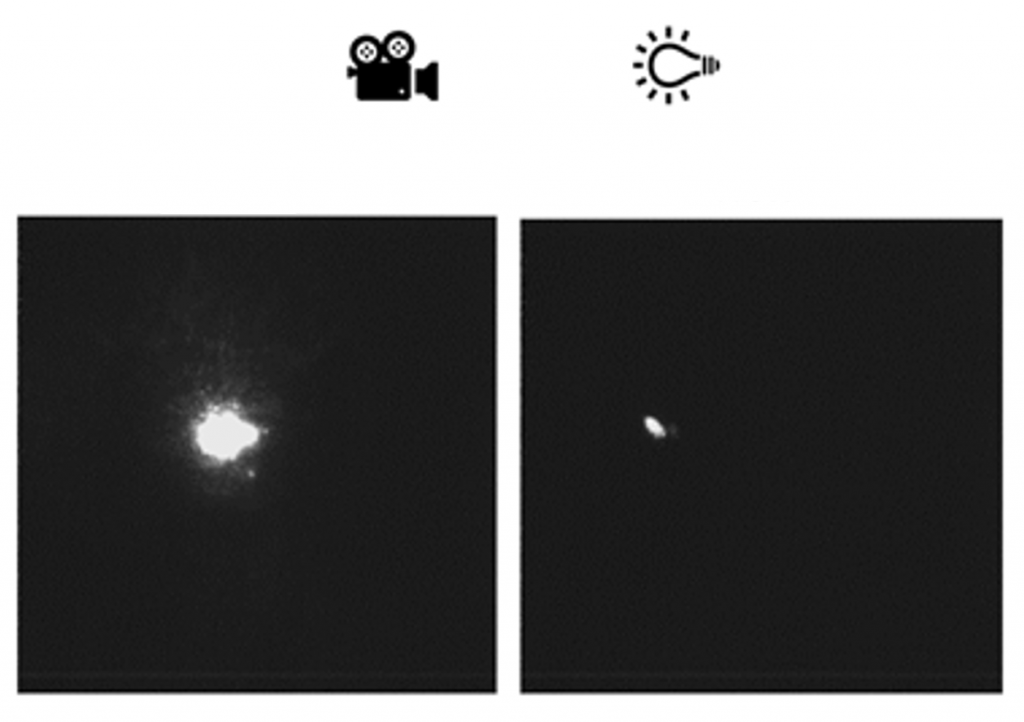
In front-light configuration, they work the same as visual inspection done by operators with lots of different image processing functions for full automation of the process.
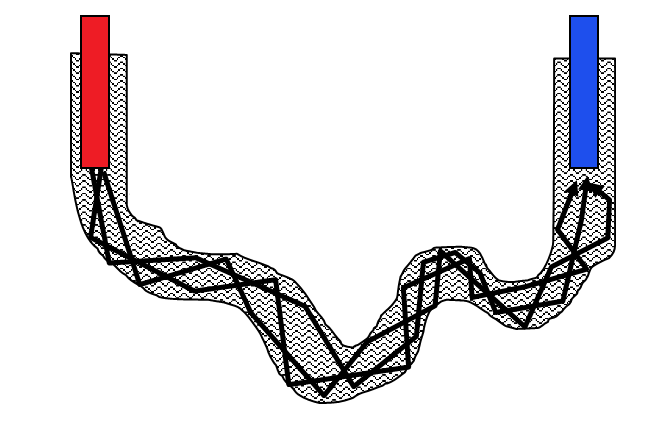
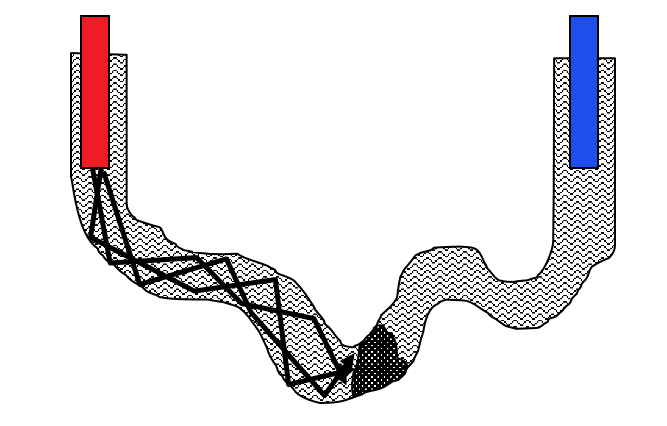
In back-light configuration, the LED is located at the opposite end of the channel. This allows to measure the overall size of the channel cross-section. It is possible to measure also slightly bended channels with no direct visibility between camera and LED.
Benefits
- Short cycle time (as low as 2-3s per 1 cylinder head)
- Automated image and data acquisition
- Localizing the defect within a casting
- Short lead time (6 weeks)
- Quick and cheap repairs of damaged probes
System Parameters
Max. NanoCamera count:
32
NanoCamera resolution:
249 x 249 pixels
Detection of full blockages:
100% guaranteed
Detection of partial blockages >30%:
depends on the part design
Inspection capability:
on-demand. We will provide you the feasibility study for free.
More about the technologies
NanoCamera
LightThru
Title for embeded video
