Introducing Optoband:
Advanced Quality Control for Flat Metal Components
Optoband presents a sophisticated yet straightforward solution for inspecting bearing rings, flanges, and lamellae. Our system is designed to ensure each part meets strict quality standards for surface, dimensions, and flatness.
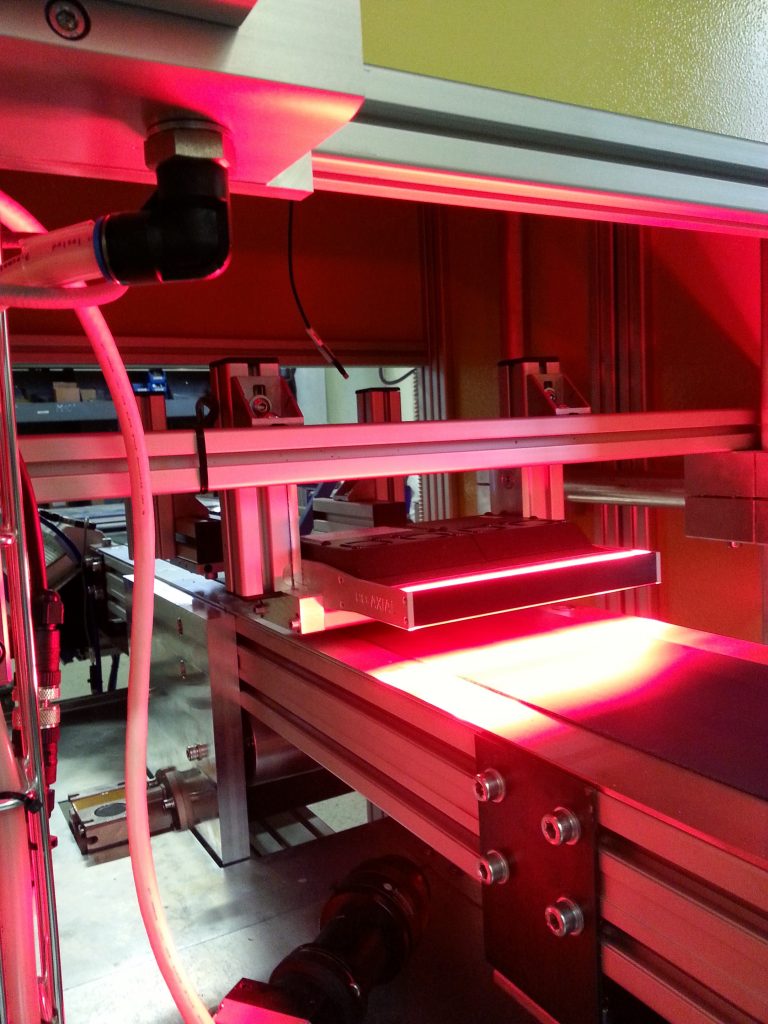
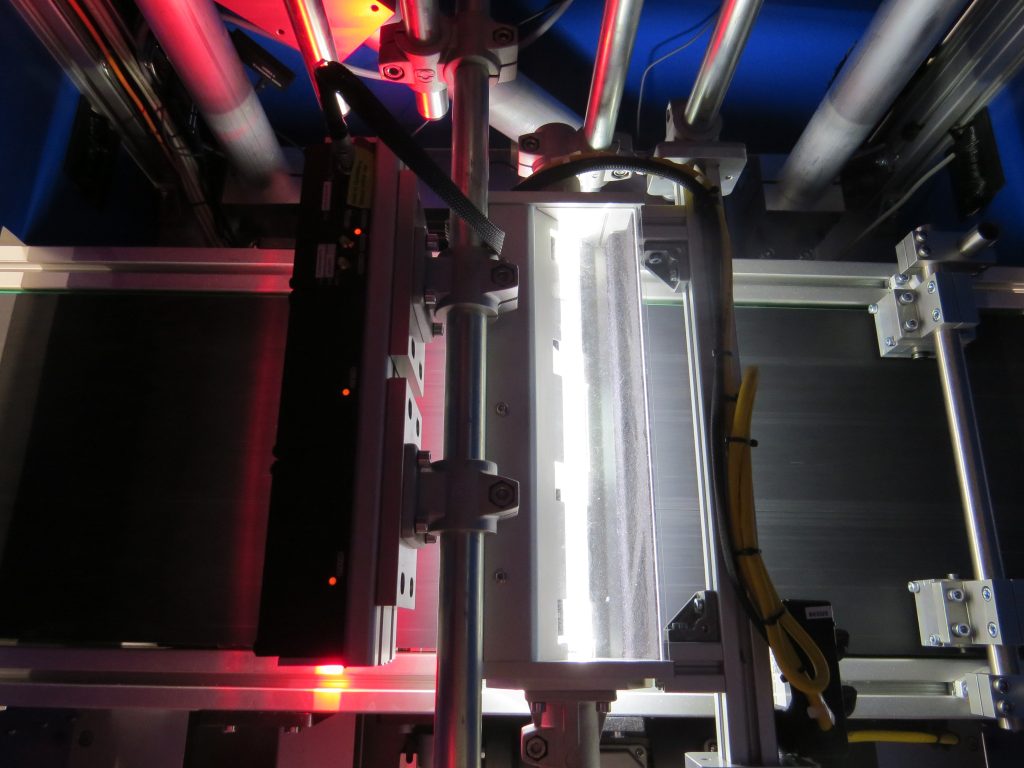
Operating at speeds up to 1000 mm/s and maximum part size up to 250mm, Optoband efficiently scans parts moving on a belt conveyor. The inspection process includes two consecutive stations, each equipped with similar camera configurations. Between these stations, a flipping mechanism ensures both sides of each part are thoroughly inspected, maintaining the flow of production without delay.
Post-inspection, Optoband sorts parts into multiple categories based on the type of detected defects, either surface or dimensional, streamlining the process of identifying and addressing imperfections. Only OK parts continue to following operations.
Optoband can also be configured to inspect vertically pressed parts for cracks and other mechanical damages. This adaptability makes Optoband an invaluable tool in maintaining the highest standards of quality in manufacturing assembly processes.


Detection Capabilities
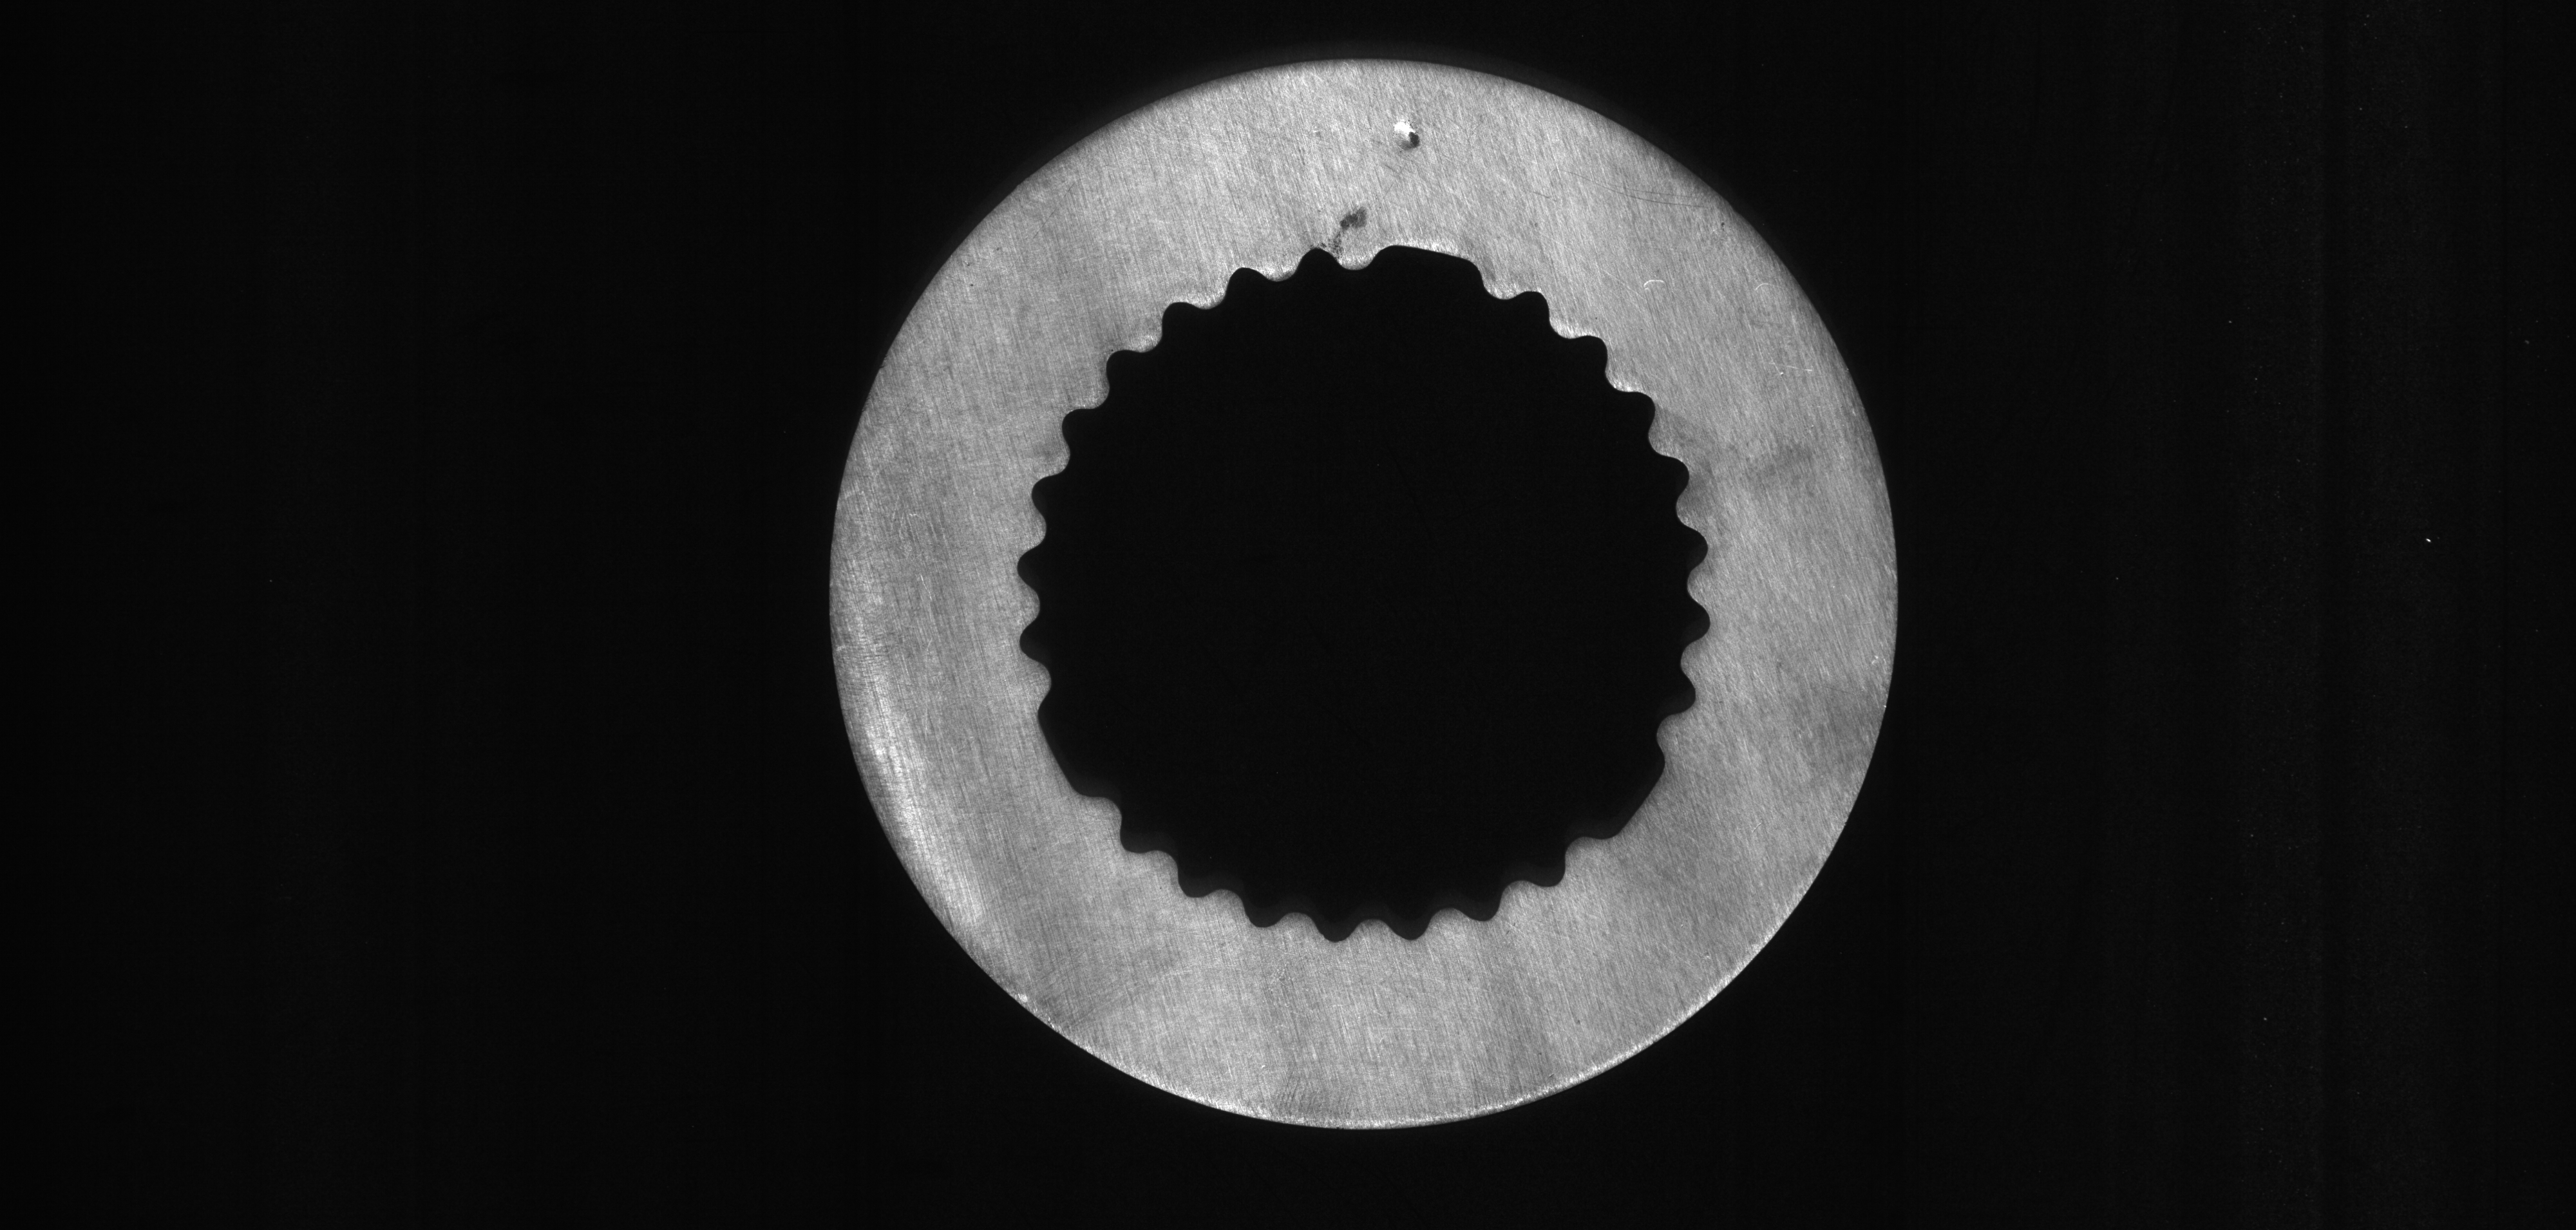
Surface defects
- Porosity
- Cracks
- Stains, dirt, rust
- Scratches
- Mechanical surface damage
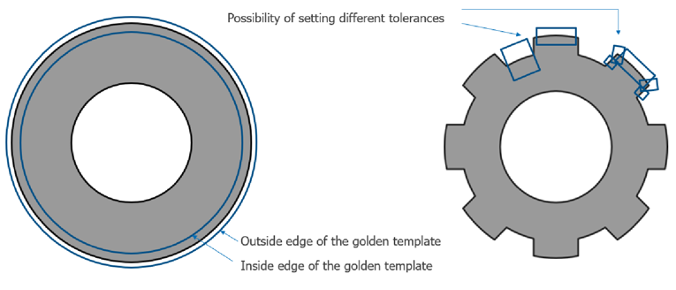
Shape defects
- Missing element
- Position of element
Dimensions defects
- Inner and outer diameters
- Concentricity
- Geometry of the part’s elements
Benefits
- 100% Inline Control: Easily integrates into your manufacturing process.
- Complex Defect Detection: Identifies surface, dimensional, and flatness issues.
- Efficient Dual-Side Scanning: Scans parts at up to 1000 mm/s from both sides.
- Automated Sorting: physically sorts parts into multiple groups based on defect types. mu
- Universal Inspection: Suitable for a wide range of products.
- Flexible System: Adapts to new products without mechanical alterations.
System Parameters
Scanning speed:
up to 1000 mm / s
Part diameter range (typical):
20 - 100 mm / 50 - 250 mm
Part height range (typical):
0.5 - 4.0 mm / 1 - 7 mm
Number of NOK categories (typical):
2
Smallest detectable defect – Surface defects (porosity etc.):
50 um
Smallest detectable defect – Shape defects (diameter etc.):
50 um
Smallest detectable defect – Flatness:
0.1 mm

Layout
- Input of part
- Inspection Station 1
- Flipping conveyor
- Inspection Station 2
- Output sorting conveyor
- Control cabinet
HIM and visualization screens are installed either on the control cabinet, or on one of the inspection stations. Connection to previous and following operations is easily done through other conveyor systems.
More about the technologies
2D Surface Inspection
3D Surface Inspection


